
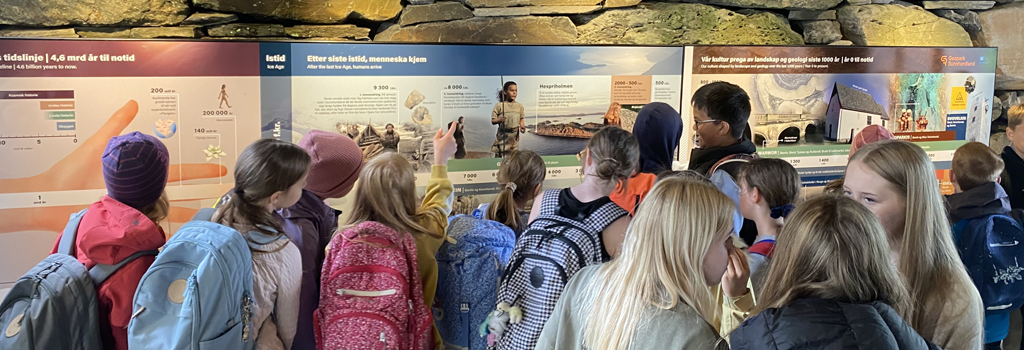
Active, engaging and collaborative learning through dialogic teaching
In the GeoSite project we have a pedagogical view that to achieve deep learning we need to truly engage the students in the subject matter. There are many ways to do this, and several different theoretical approaches advocate similar views. We have collected some pedagogical and practical approaches that can be useful for teachers to study before taking the students into the field.
Dialogue as a pedagogical principle:
Research (Alexander, 2020, Cui&Teo, 2021, Mercer, 2019) has shown that to learn on a deep level, in a way where the knowledge is accessible and useful over time, people need to engage actively in the learning process. Learning needs to be productive rather than just receptive. When students experience that their contributions are valued and taken into consideration, it is motivating them to keep contributing. That’s why dialogue is such a powerful learning tool. While discussing a subject, the teacher will understand what and how the students think and understand, and students will be active co-constructors of knowledge. This is why we suggest dialogue as a pedagogical principle in the geopark educational activities.
Tips to help create dialogic teaching activities
- When you tell a story, try to find moments to stop and wonder together with the students. Can they try to predict what is next? Consider different explanations? Discuss whether something is reasonable or not?
- Plan the conversation – what are your educational goals? How do you plan to facilitate the students access to the site?
- Use concrete examples and illustrations, make the content visible/tangible, and let the students explore objects, spaces and processes.
Talk moves
The typical structure of an educational conversation is that the teacher initiates (I) the conversation by posing a question, the child gives a response (R) and the teacher responds to the question by an evaluation (E). This is known as IRE-sequences, and to achieve engaged and active learning, it is important to move beyond it. Instead of evaluating the response from the student, the teacher could try to grasp what the student contributed (uptake) and investigate it further by asking the student to say more about it, ask if anyone else can add to the response, or if they agree or disagree, or ask the student to explain how they reached the thought they have expressed. Such ways of following up the student response are called talk moves, and they can be used for different purposes.
Talk moves are formulations that a teacher needs to acquire as a repertoire when conducting dialogic teaching. The motivation behind using talk moves is thus to open up the dialogue and make the children co-responsible for the joint exploration of a given theme, object or process. Examples of talk moves as responses to a student’s contribution (Chapin et al., 2009):
- Can you say more about that?
- Can you explain what you mean by that?
- So, what you’re saying is… [revoice, maybe while using more precise language or more complete explanations]
- Can you [another student] repeat what [first student] said?
- Can you [another student] add to that?
- Can you [another student] say what [first student] said in another way?
- Do you [another student] agree/disagree? Why?
- Use wait time [Let time go by while all the students get the chance to think and contribute].
Rehearse!
A very difficult thing for us adults is to avoid the instant evaluation of a child’s contribution. Our initial response is often to say «Yes, that’s exactly right! Good job!” or “weeeell, that’s not quite what I was thinking about… anyone else?” In dialogic education, we try to value all contributions, and motivate the students to expand, explain, think, and reason. It could be a good idea to rehearse leading a conversation, use your colleagues, friends or family, and actually ask the questions and respond to anything they contribute, keeping in mind to avoid the evaluative responses, using the talk moves or other ways to encourage further contributions, more reasoning, more thinking.
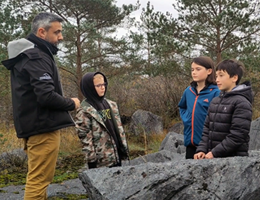
Example of an explorative conversation at a geosite
It is not easy to lead explorative conversations, and it takes practice knowing when to ask questions, when to provide information and when to allow the children time and room to wonder and explore. The most important thing is to engage the children in the exploration and keep them interested. In this example conversation you will see both more and less successful attempts at stimulating explorative conversation.
Student led explorative conversations – Geology group exploration kit
If you are one or two teachers managing a whole class of students, you cannot facilitate all conversations. Here are some tips on how you can organise the students so that they may succeed in leading their own explorative conversations. Of course, this needs to be adapted to the students’ age and maturity.
Effective storytelling
Why Storytelling Works for Geology Education
Middle school students (ages 11-13) are naturally curious about the world around them, but abstract geological concepts can feel distant and overwhelming. Storytelling transforms static rock formations into dynamic narratives, making millions of years of Earth’s history accessible and memorable. When students can visualize ancient seas, volcanic eruptions, or glacial movements as stories with characters, conflict, and resolution, they develop deeper understanding and lasting interest in geological processes.
Core Principles for Geo-Site Storytelling
Make Time Tangible: Geological time scales are nearly impossible for young minds to grasp. Instead of saying “200 million years ago,” create relatable comparisons. e.g.If Earth’s history were a 24-hour day, humans would appear in the last few seconds. Use props like timelines or have students act out compressed versions of geological events to make deep time feel real.
Use Sensory Details: Engage all five senses in your narratives. Describe the sulfurous smell of ancient volcanic gases, the thunderous roar of glacial ice cracking, or the gentle lapping of prehistoric sea. Encourage students to touch different rock textures while you tell the story of how they formed. This multi-sensory approach helps cement learning and makes abstract concepts concrete.
Create Characters and Conflict: Transform geological processes into characters with personalities and motivations. Present water as a persistent sculptor, slowly wearing down the hardest rocks through patience and determination. Cast tectonic plates as massive, slow-moving giants whose occasional collisions create mountains and earthquakes. Give volcanoes the role of Earth’s pressure release valves, sometimes sleeping peacefully for centuries before awakening dramatically.
Connect to Student Experiences: Link geological stories to familiar concepts from students’ lives. Compare sedimentary rock formation to making a layered cake, or explain how fossils form by relating it to making handprints in wet concrete. Use local landmarks or popular culture references to make connections more immediate and relevant.
Practical Storytelling Techniques
The “What If” Approach: Begin with hypothetical scenarios that capture attention. “What if you could shrink down and ride a grain of sand through a river system?” or “What if you could time travel back to when this area was covered by a tropical sea?” These openings immediately engage imagination and curiosity.
Progressive Revelation: Don’t reveal everything at once. Start with mysterious clues in the rocks and gradually build the story. Point out strange marks in sandstone, then slowly reveal they’re ripple marks from ancient beaches. This detective-style approach keeps students engaged and thinking critically.
Use Movement and Gestures: Demonstrate geological processes through physical movement. Show how glaciers move by having students slide forward slowly with their arms extended. Illustrate folding and faulting by having them manipulate clay or their own bodies. Physical activity reinforces learning and helps kinesthetic learners grasp concepts.
Incorporate Local Legends: Research local indigenous stories or historical accounts related to your geo-site. These cultural connections add depth and show how humans have long tried to understand and explain geological features. Always treat these stories with respect and acknowledge their cultural significance.
Age-Appropriate Storytelling Strategies
Use Familiar Analogies: Compare geological processes to everyday activities. Weathering is like a slow-motion food processor breaking down rocks. Metamorphism is like cooking, where heat and pressure transform ingredients into something new. Erosion works like a giant conveyor belt, constantly moving materials from one place to another.
Embrace Drama and Excitement: Don’t shy away from the dramatic aspects of geology. Volcanic eruptions, massive earthquakes, and catastrophic floods are naturally exciting to middle schoolers. Use appropriate dramatic language and sound effects to bring these events to life, while always emphasizing safety and scientific accuracy.
Encourage Questions and Predictions: Build pause points into your stories where students can make predictions about what happened next. “Based on what we can see in these rocks, what do you think this environment was like 50 million years ago?” This interactive approach keeps students engaged and develops critical thinking skills.
Making Stories Memorable
Create Recurring Themes: Develop consistent themes throughout your excursion, such as “Earth as a recycling system” or “rocks as history books.” These overarching concepts help students organize and remember multiple geological stories and processes.
Use Repetition Strategically: Repeat key concepts in different contexts throughout your storytelling. The rock cycle, for example, can be woven into multiple stories about different rock types and formations, reinforcing the concept through varied examples.
End with Modern Connections: Always connect your geological stories to present-day implications. How do these ancient processes affect us today? What can we learn from past climate changes recorded in rocks? These connections help students understand the relevance of geological knowledge to their lives and future.
Practical Tips for Success
Prepare Backup Stories: Have multiple stories ready for each location, as weather, group dynamics, or time constraints may require flexibility. Short, focused narratives often work better than long, complex ones.
Practice Your Delivery: Rehearse your stories beforehand, paying attention to pacing, volume, and dramatic pauses. Your enthusiasm and confidence will be contagious and help maintain student engagement.
Use Props and Visual Aids: Bring simple props like magnifying glasses, measuring tools, or rock samples to enhance your stories. Visual aids help students better understand scale, texture, and other important geological features.
Encourage Student Participation: Invite students to contribute their own observations and interpretations. Ask them to describe what they see before you begin your story, and incorporate their observations into your narrative when possible.
By transforming geo-sites into stages for compelling narratives, teachers can ignite students’ curiosity about Earth’s history and processes. Remember that the goal is not just to inform, but to inspire wonder and appreciation for the incredible story written in stone all around us.
Practical tips for field excursions
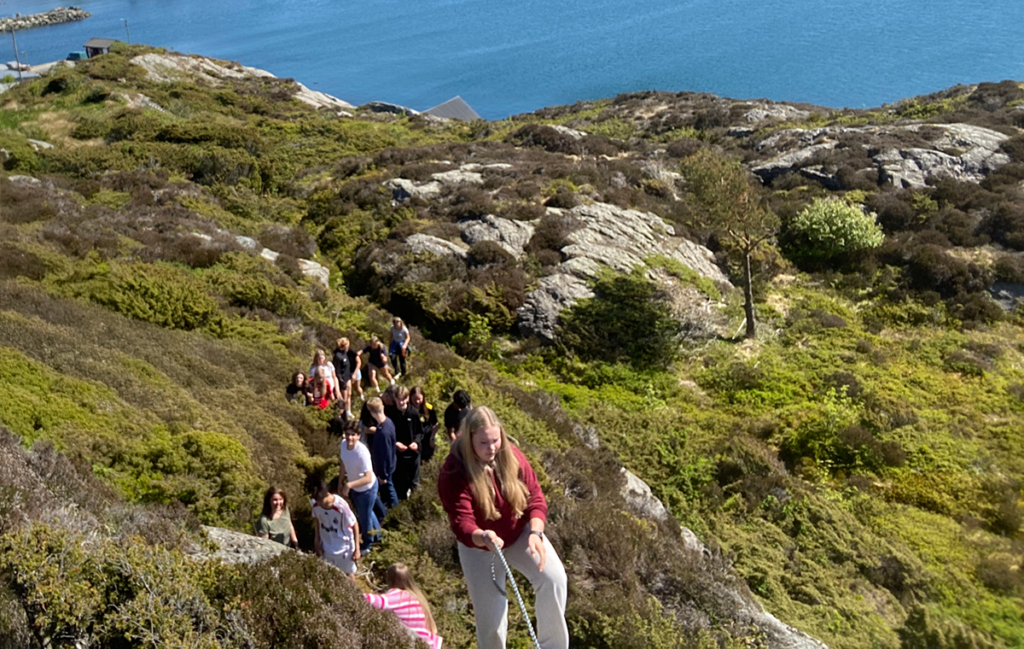
1. Hydration: Dehydration can lead to fatigue, decreased coordination, and heat-related illnesses, which can impair your ability to lead effectively. Encourage the students to drink water before the excursion and carry a water bottle with them. The teacher should carry an extra bottle in case someone needs extra water.
2. Nutrition: Maintaining your energy levels is crucial for the endurance needed and focus, especially when you are responsible for others and during the latter parts of the walk where other’s energy levels maybe dipping. Make sure students have a healthy meal before the walk, and bring a packed lunch if the trip is longer.
3. Proper Gear: Proper gear can prevent discomfort and injuries, which can drain your energy and focus. It will also ensure that you are warm – and prepared for different conditions.
Wear appropriate clothing for the weather. Layering is key to managing changing temperatures. Use comfortable, broken-in, and supportive footwear suitable for the terrain.
Always check the weather forecast ahead of time and certainly before heading out on the day to adjust equipment accordingly.
4. Prepare for the unforeseen: You should always carry a basic first aid kit for emergencies. Have a plan for emergencies, including knowledge of the nearest exits or pathways.
5. Access and insurance: It is vital to respect the local wildlife as well as the local residents. Some sites may appear open but are actually under private ownership, some being active farms. It is important to engage with the local community when visiting outdoor sites. Beware of specific time of the of the year when farm or wild animals are active. Make sure you, or the bus bringing you, park in the designated area.
6. Toilet facilities: Check whether the site you are visiting offers any toilet facilities. If not, prepare yourself and the group in advance.
7. Litter: Always bring a bin bag with you and collect all packaging, bottles or other litter you brought with you. And if you find litter there, collect it to help protect the site.